Luarmor works with an invite code system. This means that you can only create an account if you have an invite code. You can also buy invite codes for other people to use!
Getting an invite code
Invite codes can be purchased from the main site here.
Extending your membership
Invite codes can also be used to extend your membership by an extra 30 days by redeeming an invite code on your profile page.
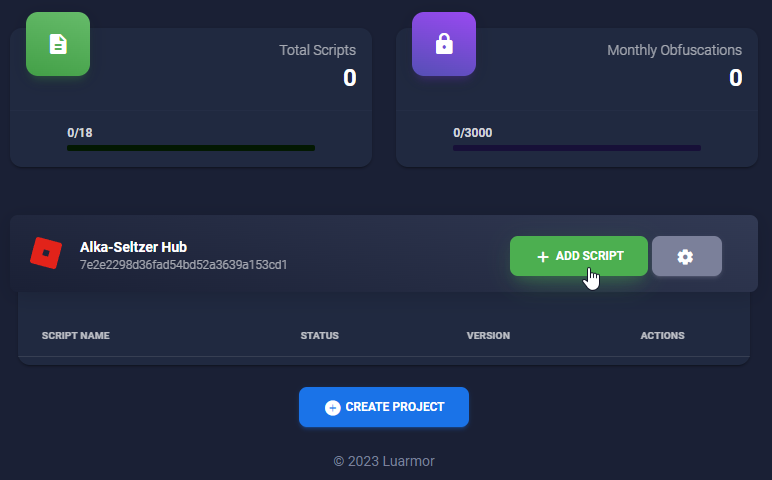
All scripts live inside a project, to learn how to create one, please refer to the previous section.
Upload your script to the project
To start uploading a script, under the project you created, click New Script.
The button to click that adds a script to the project
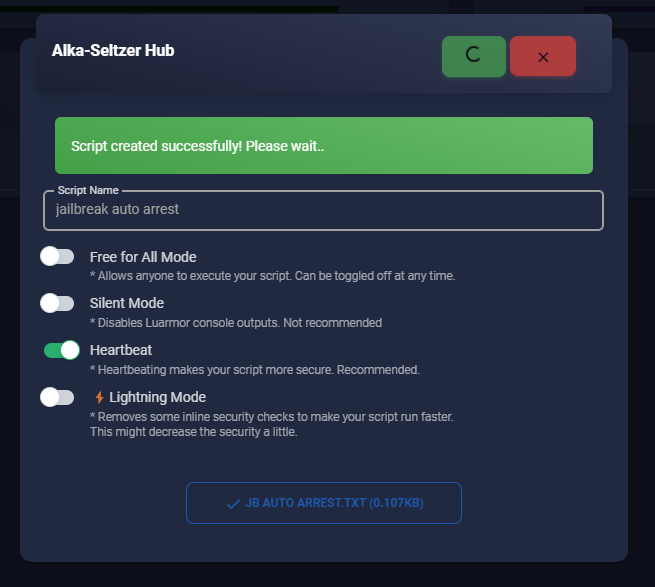
Enter script details
After you click New Script, you will be prompted to enter the script details. Fill in all of the details, upload your script, and press the green tick in the top right.
Your screen may be too small and you may not be able to see the Upload File button. If this is the case, try to zoom out or use another computer / monitor.
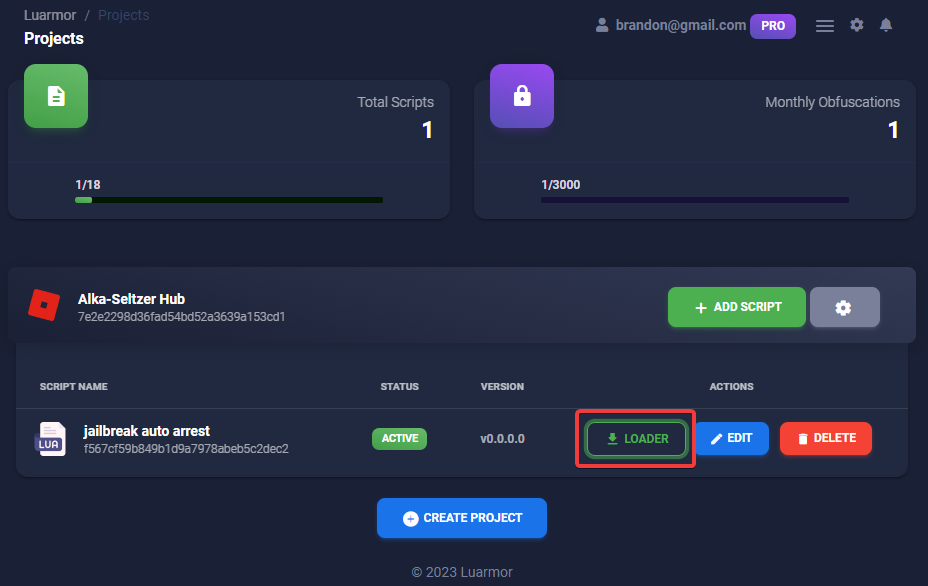
After you have uploaded your script, you can now download the loader script and start whitelisting users.
Download the loader
Please use the Luarmor loadstring to ensure your script is always up to date. Uploading the contents of the loadstring and using that instead will cause an error!
Download the loader script by clicking the Loader button.
Highlighted button that downloads the loader
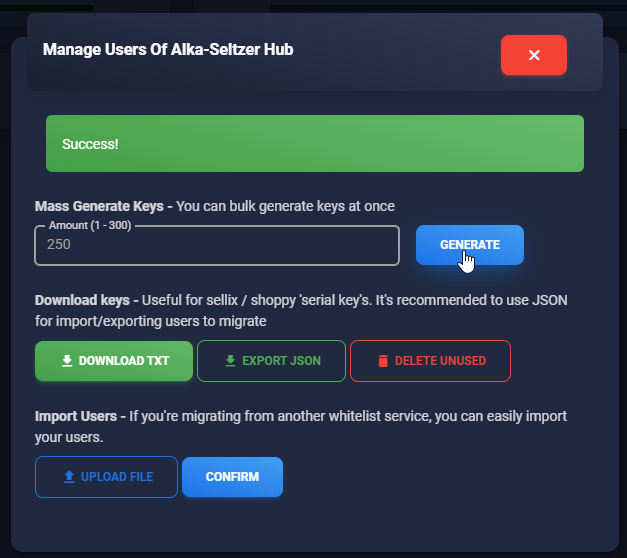
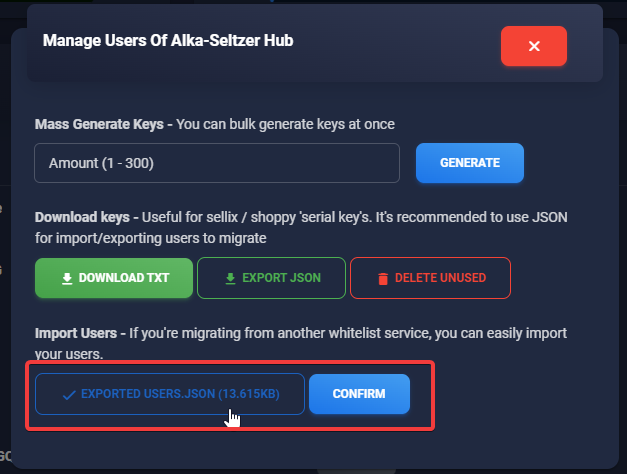
Create whitelist keys
Generate an empty key on the user area and give it to the user. Alternatively, you can mass-generate keys and put them to your Sellix / Shoppy as serials for automated purchases.